▷ Acrylic Nails vs UV Gel Nails: What's the Difference
Acrylic Nails vs UV Gel Nails: What's the Difference
Acrylic and gel nails are extensions applied to your natural nails to achieve a much more polished look. Their differences lie in how they are applied, their durability, natural appearance, and materials. Today we’ll tell you what you need to know to choose the right type of fake extensions and learn how to create them.
What mainly differentiates gel nails from acrylic nails is their application and the type of material used. Gel nails use a resin mixture that is cured with UV or LED light, unlike acrylic powders, which are applied to the bed with a mixture of liquid and powder and then shaped.
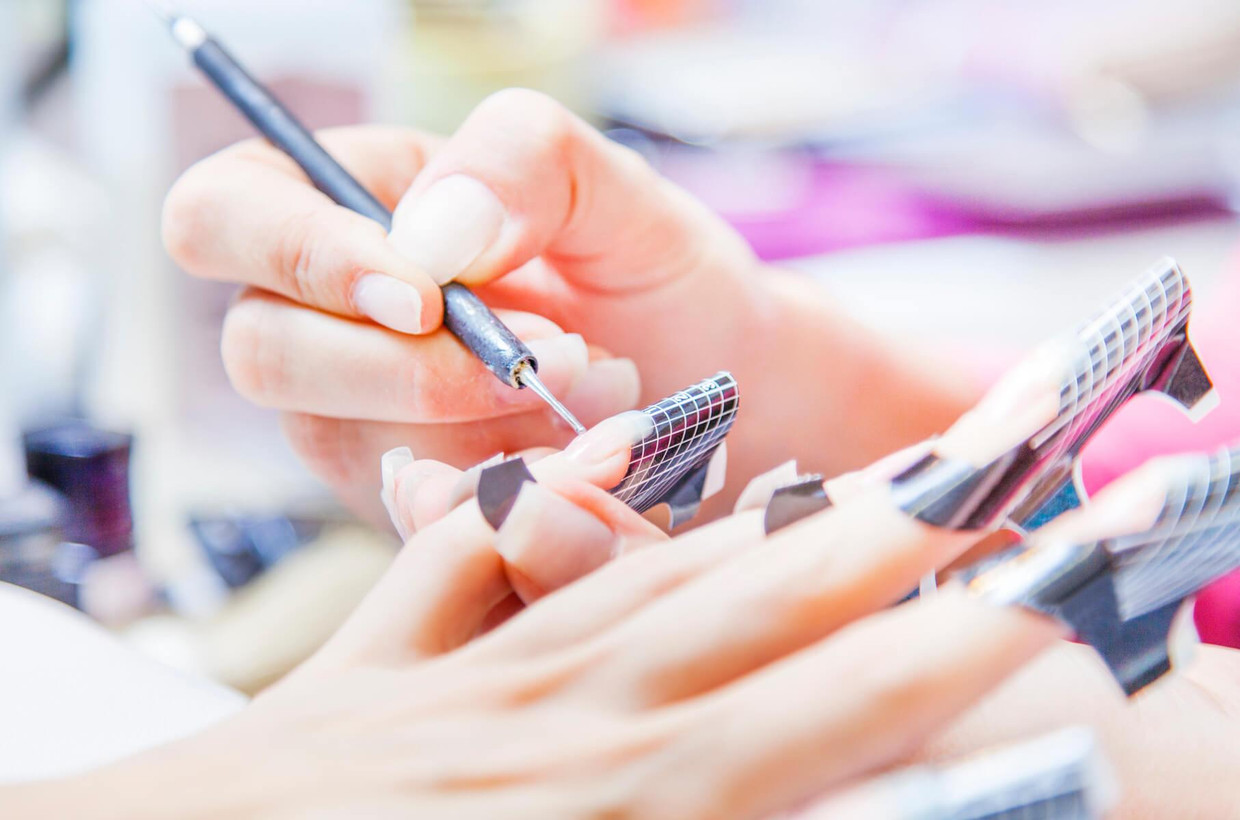
Sculpted nails are extensions built from the natural nail using acrylic or gel material. These allow you to restore and rebuild bitten nails or simply have longer fingernails. This makes them very appealing, as you can shape the length and form to get various styles.
Gel and acrylic extensions serve similar purposes: lengthening short nails, strengthening weak nails, and significantly enhancing the look of your hands.
Differences Between Acrylics and Gels
The biggest difference between acrylic and gels is their composition. We've broken down the most important features to consider when choosing or recommending to your clients.
Acrylic Nails:
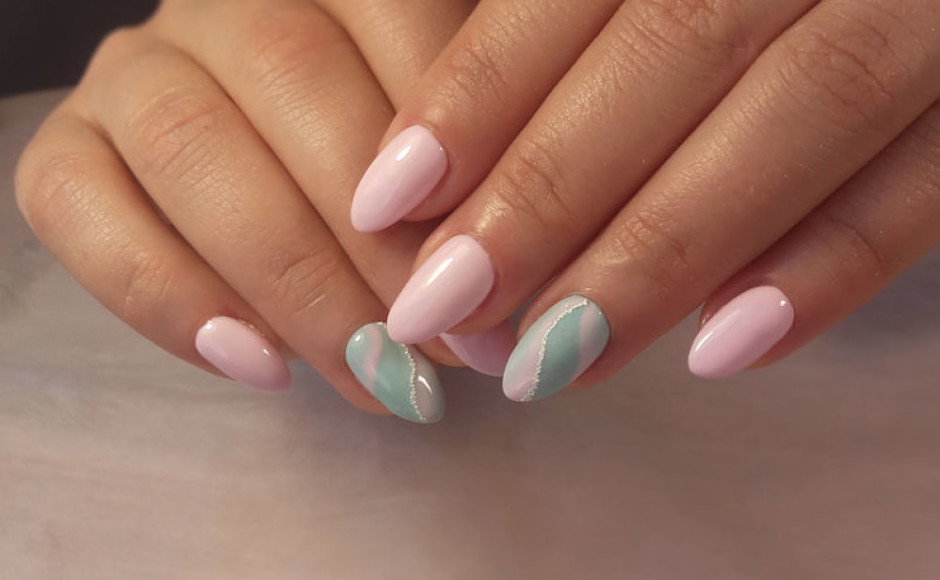
- Durability: Acrylic nails are very durable. When done correctly and cared for, they can last a long time.
- Appearance: Acrylic extensions tend to look more artificial due to their thickness.
- Odor: Acrylic has a strong odor during application.
- Removal: The removal process is simpler, but it can damage the natural bed.
- Frequent Use: Continuous use may cause thickening of the bed and hinder natural growth.
This type of manicure offers a much quicker repair process. Acrylic has a strong smell, but they are very resistant and durable. When done correctly and cared for, they can last a long time. It is likely to be noticeable that they are artificial, and frequent use may cause thickening of the natural bed and hinder growth.
Gel Nails:
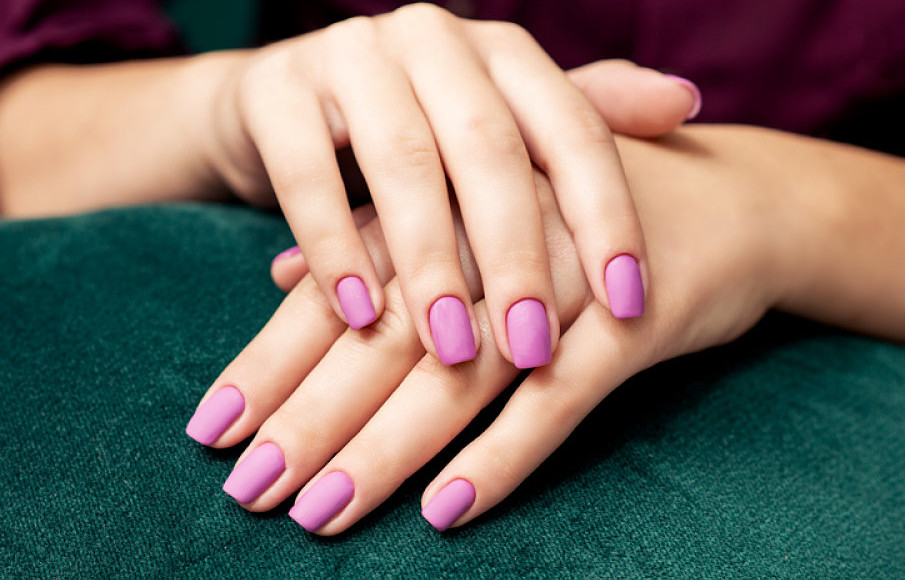
- Natural Look: Gel manicure tend to give a more natural and shiny appearance compared to acrylics.
- Odor-Free: Unlike acrylics, gel extensions don’t have a smell during application.
- Allergic Reactions: The risk of allergic reactions is very low.
- Durability: Gel tips are less durable than acrylics and generally cost more.
- Repairs: If a gel extension breaks, it’s unlikely to be repairable, so you’ll need to remove it completely and rebuild it.
Gel nails tend to provide a much more natural and shiny look compared to acrylics. Unlike acrylics, gel Enhancements don’t have any smell, and the risk of allergic reactions is practically non-existent. However, due to the material, gel extensions are less durable than acrylics and generally cost more. If a gel extension breaks, it's unlikely to be repairable, meaning you’ll need to remove it completely and start over.
In short, gel manicures are done with a special polish applied to the nail and cured with UV light. It’s common to see them at a similar length to a natural bed surface, although the polish thickness is much greater. Acrylic nails are extensions added to the natural nail, and you can choose the length; just pick your favorite polish, and you’re set!
With both types, you can have manicures that last for several days and weeks. Gel extensions will harden your nails faster, helping them grow stronger, while acrylic powders will give you greater length and strength. If you want to keep learning more about these nail styles, sign up for our Gel Course and become a 100% expert with the help of our teachers and experts.
Curing Process
A major difference between the two lies in how they cure:
- Acrylics start curing the moment the liquid monomer and powder polymer are mixed. You have about 30 to 60 seconds to work with and shape the product before it hardens. This timing can be affected by the environment, such as temperature and humidity.
- Gel, on the other hand, only hardens when placed under a UV or LED lamp. This gives more flexibility to adjust the product before curing. However, you should be cautious about working near direct sunlight or strong lighting, as it may cause the gel to harden prematurely.
How Long Do Fake Nails Last?
As for durability, gel products can last between two and three months, although you need to get fills every so often. On the other hand, if you're looking for nails that last much longer, acrylic powders are your best choice. These can last up to six months if you refill them regularly, at least every two or 3 weeks.
Acrylic Nails: Pros and Cons
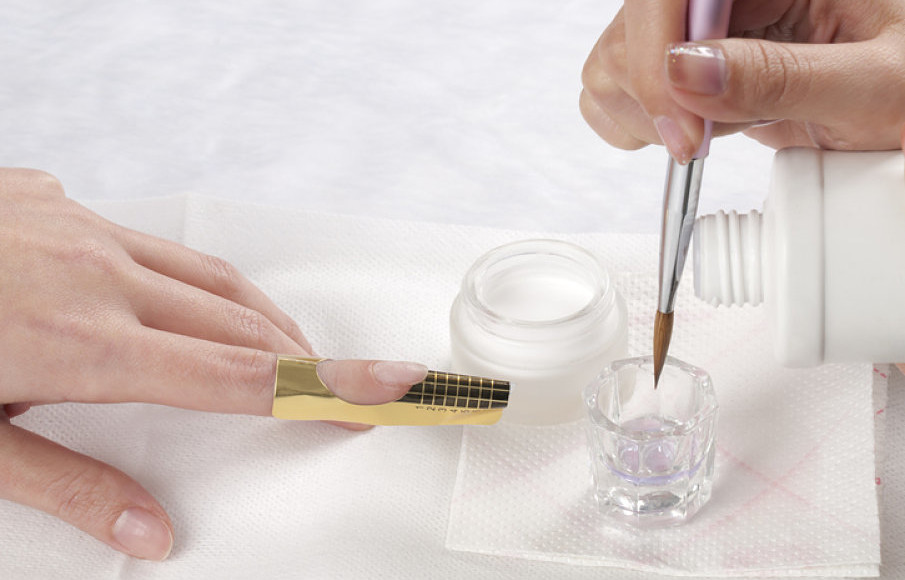
These fake nails are made with acrylic, combining a special liquid or monomer with a powder polymer, which hardens quickly when air-dried. Some additional advantages and disadvantages compared to gel extensions are:
- Longevity: An acrylic manicure can last between 2 and 3 weeks. However, if your nails grow fast, they will likely need another re-fill. Just like a gel manicure, its durability depends on wear.
- Durability: Are very popular nowadays because they can emulate an elegant style for a long time. Their main benefit is their durability. Acrylic is strong, and you won’t have to worry about cracks, breaks, or lifting due to its resistance.
- Application: However, make sure to apply them correctly, as acrylics can look unnatural if not done right. Keep in mind that these nails can sometimes be very difficult to remove without damaging the natural bed, which means you should fill them every two weeks to avoid the growth stage of the damaged after removal.
Gel Nails: Pros and Cons
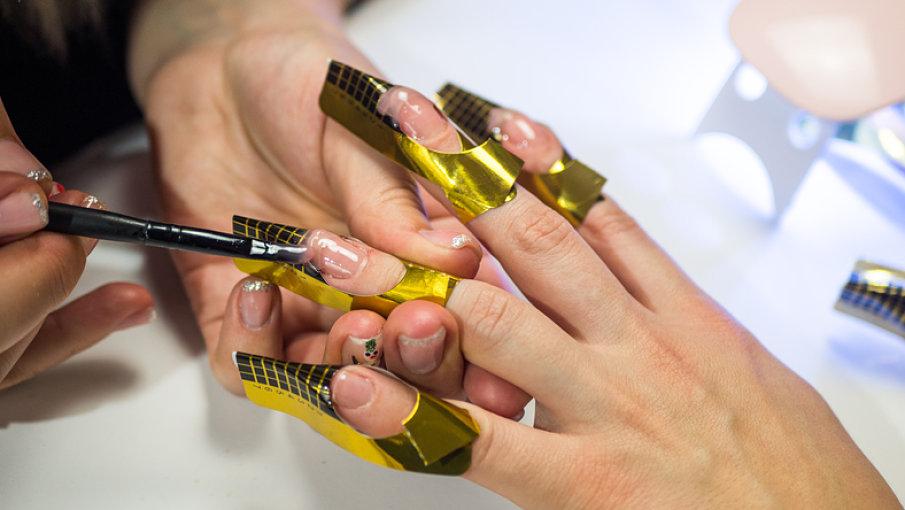
Gel manicures are done with builders, poly Gels, or polish that is applied directly to your natural nails and hardened under UV light. Depending on the thickness you want, you must apply a number of layers, drying each one with an LED lamp. This way, you achieve a result similar to a regular manicure, but with nails that last for several weeks.
- Less Durable: Gel extensions may be less durable compared to acrylics and won’t work if you have extremely short nails or bite them, in which case acrylics are a better option.
- Eco-Friendly: However, keep in mind that they are more eco-friendly as they emit fewer fumes when applied, while acrylics can damage the nail if not properly cared for.
- Comfort: Most people don’t like acrylics because they can cause discomfort in the cuticle area. On the other hand, gel nails shape themselves, making them much gentler on the hands.
Acrylic nails are harder and also look thicker than gel nails. Any tension on acrylic nails can damage the bed. Gel nails are flexible, and you won’t face this risk.
Differences in Applying Gel and Acrylic Nails
Acrylic extensions are glued to the natural bed, and the manicure technique involves applying a primer or a glue-like substance to the original foundation. Then, an artificial acrylic powder is placed over the existing one. The curing time is generally slower compared to uv gels. When applied properly with the correct amount, primers will prevent damage to the bed. You should also avoid contact with the skin to reduce the risk of an allergic reaction.
Most gel products cure under ultraviolet light; some cure with a UV light. Gel products can't be applied with or without a base or primer.
Consistency
When applying acrylics, the consistency is thicker and requires skill to shape before it sets. You form a ball of product by dipping your brush into the liquid and powder, and then shape it directly on the nail.
Gel has a smoother, syrup-like consistency, which makes it easier to apply in layers. Its self-leveling property allows for more play before curing, giving the opportunity to blend colors or add designs like glitter.
How to Do Sculpted Nails Step by Step: Acrylic and Gel
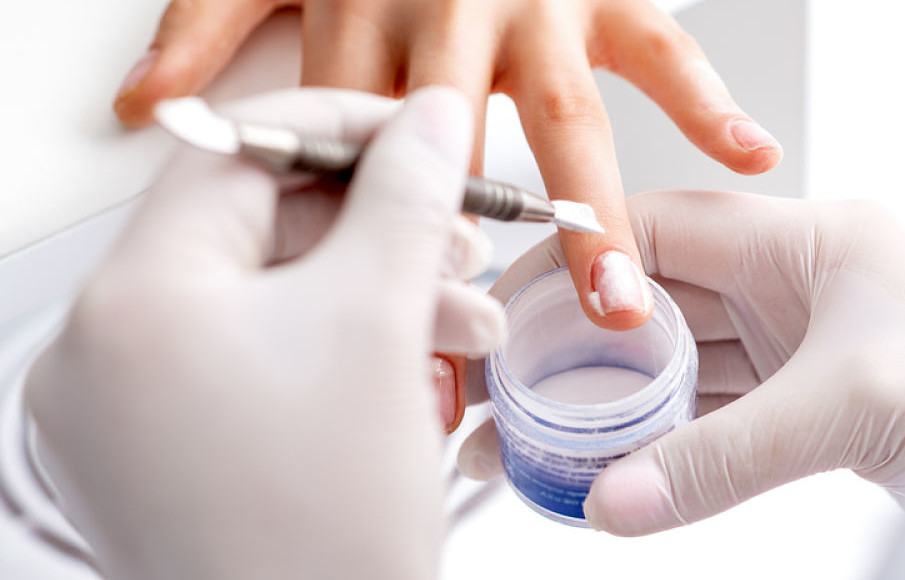
- Step #1: Prepare the natural bed
Clean and remove any polish. If they aren’t polished, you can clean them with alcohol or sanitizer to remove any dirt. Then, push back the cuticle to remove dead skin from the base and sides. File the surface, sides, free edge, and disinfect. - Step #2: Place the tip or form
With short and rounded nails, place the tip or form on the fingernail. It should fit snugly, perfectly aligning with the free edge. This will define the shape and length of the extension. - Step #3: Build the nail
Pour some monomer into a dappen dish, and in another container, place the polymer. Remember to have clean and disinfected hands.
With the tip or form in place on the bed, apply a layer of primer, preferably acid-free, and let it dry well. Then dip the brush tip into the monomer and drain a bit by lightly pressing on the sides of the dish. Next, insert the brush into the acrylic powder for about two or three seconds to pick up a small bead. Make sure the product amounts are correct, as the bead should neither be too wet nor too dry.
Maintenance and Removal
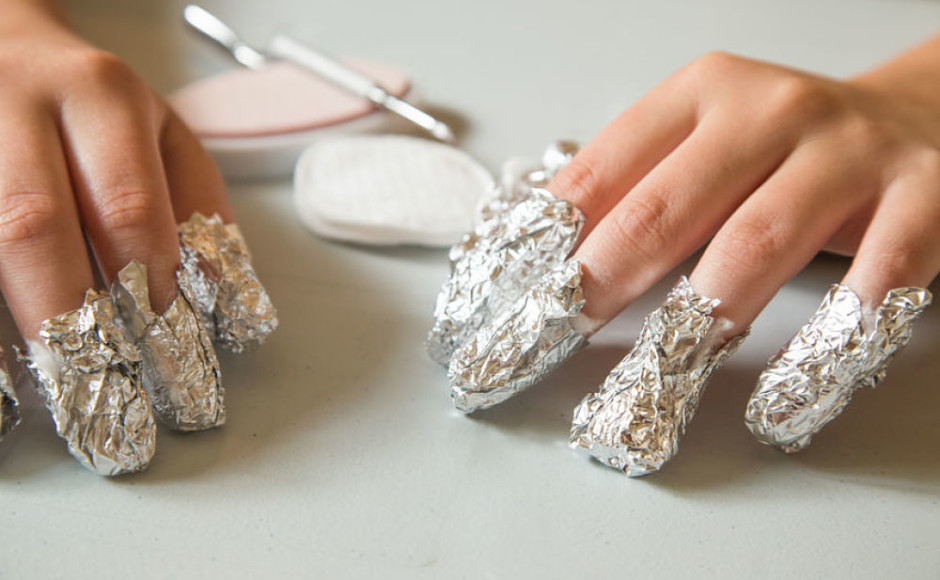
For acrylic nails, the ideal is to do maintenance every three weeks. This procedure consists of covering the space that appears between the acrylic and the cuticle, remove the polish and then check that there is no detachment of the material; if there is, you can remove it with the help of pliers and filing the surface. Finally, place new material in that area and continue with the construction of the nails.
Practical Tips
For acrylic, you'll need to shape it quickly before it sets. It hardens while you're working, and once it's done, there’s no going back. Be sure to work efficiently to achieve the desired shape.
With gel, make sure there’s no direct sunlight or skylight above you, as it could cause the gel to harden too early. This flexibility in working with gel gives you more time to perfect the shape before curing it under the lamp.
Combining Acrylic and Gel
One thing many nail techs love to do is use an acrylic nail and finish it with a gel topcoat for a shiny finish. Acrylics can be buffed to a shine, but it takes much more effort compared to the easy, glossy effect you can achieve with a gel topcoat.
So, what type to choose?
If you're a client trying to decide between acrylic and gel, it really comes down to what the nail technician is most skilled at. Both products have their unique benefits, and trying both could help you find what suits you best.
Gel nails are extremely attractive because of the flexibility of the extension. Many experts recommend them, being an all-terrain manicure that will hold absolutely anything for weeks. On the other hand, if you choose acrylic nails, keep in mind that they can break because they are a type of material similar to glass, and although they may look hard, they can be damaged if you drop them.
If you or your client has hard or brittle nails, you need a product that will help make them flexible enough to prevent breakage, especially at the extension edge of the nails. On the other hand, if your client has soft, split nails, he or she will need the strength that acrylic Enhancements provide.
Learn how to create sculpted nails today!
Having long, strong nails is not something that everyone can enjoy. On numerous occasions, they break unexpectedly and it's very difficult to maintain a perfect manicure for more than four or five days. If this is the case for you, gel or ac is the solution to this problem. They are very durable as long as they are done correctly.
Regardless of the type of the enhancement you choose, if done by a knowledgeable person, both acrylics and gel extensions should give you the same result: long, healthy and beautiful nails. If you want to learn how to do them, our teachers and experts of the Online Courses will advise you every step of the way.
Recent Posts
-
▷ Acrylic Nails vs UV Gel Nails: What's the Difference
Acrylic and gel nails are extensions applied to your natural nails to achieve a much more polished
-
▷ Nail Drill Bits Guide for Beginners | Daniella Fer
Nail Bits are essential tools for both professional nail technicians and at-home enthusiasts. These

