What is Builder Gel? | Benefits & How to Use It

Comprehensive Guide To Builder Gel: Uses, Application, and Personal Experiences
Are you seeking a manicure that combines longevity, health, and style? Embark on a journey into the transformative world of builder gel, a cornerstone in modern nail care. This guide, born from personal trials and in-depth research, delves into everything you need about structure gel, including Dan’s Nails collection product recommendations.
It’s a story of resilience for those with fragile nails, a narrative where beauty and durability intertwine. Let’s unravel the mysteries of builder gel, exploring its myriad applications, benefits, and nuances that make it a revered choice in nail care.
What is Builder Gel
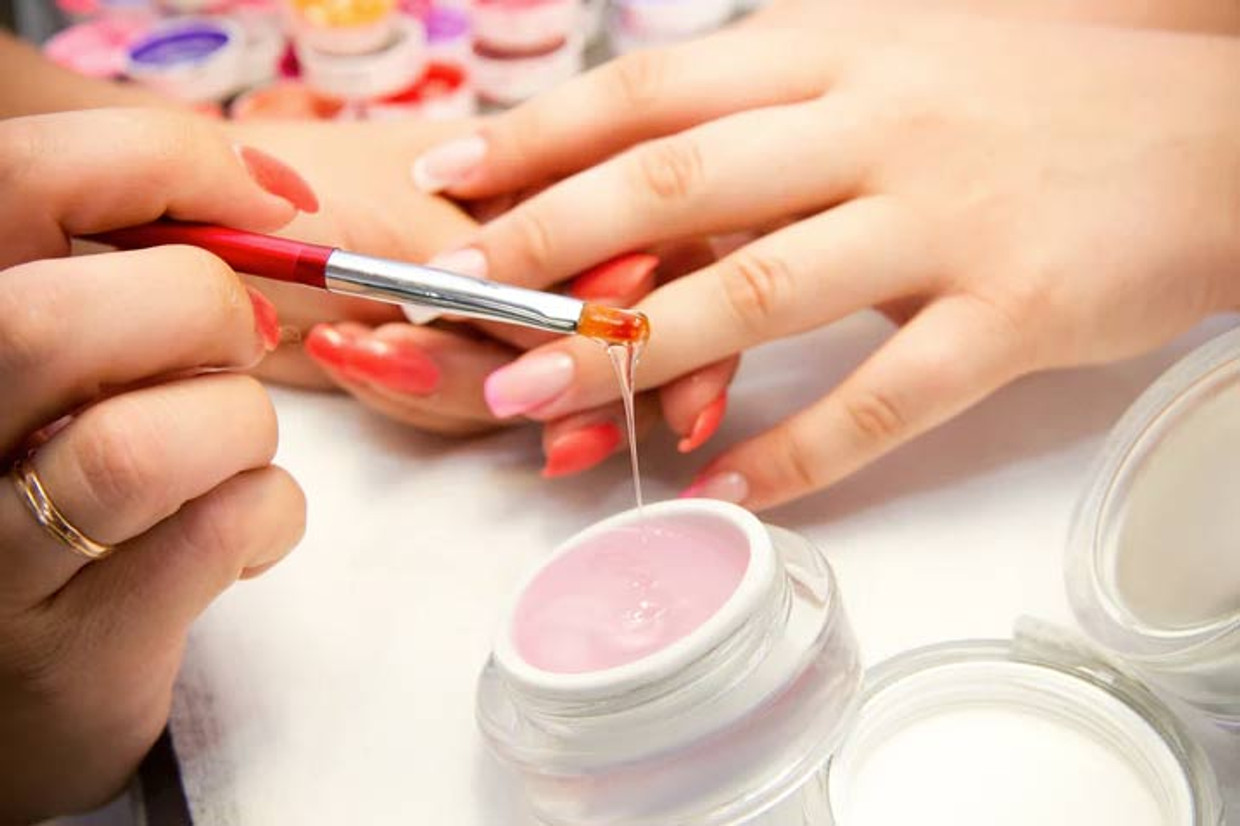
Builder gel is a dense gel that creates longer, thicker, and stronger nails on natural or artificial nails. It is made from monomers and oligomers and cured using a UV or LED nail lamp. This structure gel comes in two categories: hard builder and liquid builder gel in a bottle.
This gel doesn’t just add color; it imbues natural nails with strength and durability, laying a foundation for nail art and extensions that transcend the ordinary. This nail builder is more than a product; it’s a shield against the everyday wear and tear that nails endure.
What are The Ingredients?
Builder gel’s chemistry is fascinating. Its formulation, a symphony of polymers and photoinitiators, responds to UV/LED light, transforming from a liquid state to a solid, protective overlay. This process, known as curing, is the alchemy that gives the builder its power. It balances science and art; the nail becomes a canvas for strength and beauty.
Builder gel typically contains a combination of the following ingredients:
- Acrylate Oligomers: The primary components form the gel’s structure. They are responsible for the strength and durability of the builder gel.
- Photoinitiators: These substances react to UV or LED light to initiate the gel’s curing (hardening) process.
- Monomers are small molecules that link together to form polymers, contributing to the consistency and strength of the gel.
- Colorants and Pigments: Used to give the structure gel its color. These can vary depending on the brand and type of builder gel.
- UV Stabilizers help prevent the gel from yellowing or degrading when exposed to UV light.
- Plasticizers: They are added to improve the flexibility and reduce the brittleness of the cured gel.
- Methacrylates: Common in many nail products, they are part of the chemical makeup that allows the gel to bond to the natural nail and cure properly.
It’s important to note that the specific formulation can vary between brands and types of builder gels. Some people may be sensitive or allergic to certain ingredients, such as methacrylates. So, it’s always a good idea to check the product label or consult a professional if you have concerns about allergies or sensitivities.
Different Builder Gels
Builder gels are a spectrum, with hard and soft gels at opposite ends. Like the stalwarts of nail care, hard gels offer a robust, non-porous finish ideal for extensions that demand resilience. With their more forgiving nature, soft gels provide a flexible option for natural nail reinforcement. Each type serves a unique purpose, catering to diverse nail care needs.
Hard Gels: The Resilient Warriors:
Hard gels are the sentinels of nail artistry, providing a fortress-like shield. When cured, they form an impenetrable layer, defying chips and breaks. Ideal for sculpting, they are the architects of nail extensions, creating beautiful and enduring structures. Their non-porous nature means they’re impervious to the usual nail polish enemies like water and oil, making them a steadfast choice for long-lasting nail art.
Critical features of hard gels:
- Rigid and non-porous when cured
- Excellent strength and durability
- Ideal for creating nail extensions and complex nail art
Liquid: The Flexible Protectors:
Soft gels are the chameleons of the builder gel family. Adaptable and versatile, they offer a less rigid overlay, perfect for natural nail reinforcement. These gels are a boon for those seeking a balance between durability and natural nail health. Their ease of removal, often just a simple acetone soak away, makes them a favorite for regular color changes and those with a gentler approach to nail care.
Critical features of soft gels:
- Flexible when cured
- Easier to remove with acetone
- Best for reinforcing natural nails or creating shorter extensions
- By understanding the differences between hard and soft gels, you can choose the right type of structure gel to create a fabulous manicure that suits your needs and preferences.
| Properties | Liquid Builder | Hard Builder |
|---|---|---|
| Strong/Liquid | Liquid | Strong |
| Viscosity | Medium | Medium |
| Self-leveling | Yes | Yes |
| Inhibition layer | Yes | Yes |
| Allows to build correct shape using nail clamp | Yes | Yes |
| Easy to file | Yes | Yes |
| Cure Time | 60 s. LED 120 s. UV | 120-180 s. LED 120 s. UV |
Product Recommendations And Personal Experience
Embarking on the structure gel journey transformed my approach to nail care, introducing me to products that have become irreplaceable in my routine. These products, each with a unique role, have been instrumental in elevating many nail technicians' manicures to professional standards.
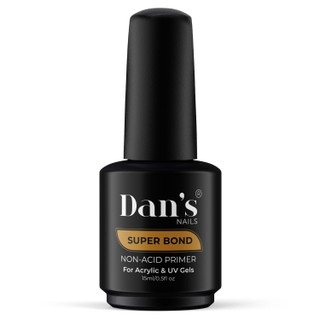
1. Dan's Nails Bonder Gel: The Foundation of Durability
My experience with Dan's Nails Bonder has been nothing short of transformative. This bonder gel is the hero of the manicure process, creating a robust bond between the natural nail and the gel. Its formula, both gentle on the natural nail and formidable in its adhesion, ensures that the subsequent layers of gel adhere with unparalleled strength. This bonding base is the cornerstone of a manicure that withstands the rigors of daily life, ensuring longevity that truly impresses.2. Dan's Nails Base Coat Gel: The Smooth Start:
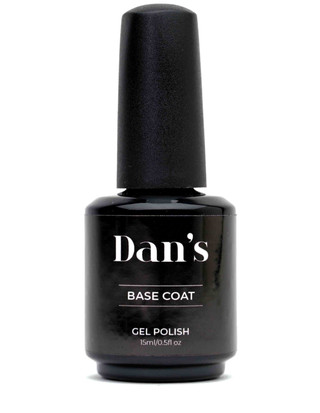
The journey of a thousand miles begins with a single step, and in the world of structure gel manicures, that step is Dan's Nails Base Coat. Its application is a breeze, gliding effortlessly onto the nail to set a flawless stage for the builder gel. This base coat ensures a smoother application of the subsequent layers and plays a vital role in protecting the natural nail from potential staining and damage. It's the foundation that promises a manicure that looks impeccable and feels seamless.3. Dan's Nails Builder Gel: The Architect of Strength and Elegance
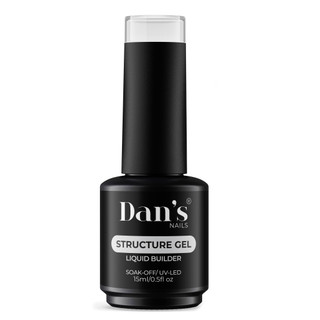
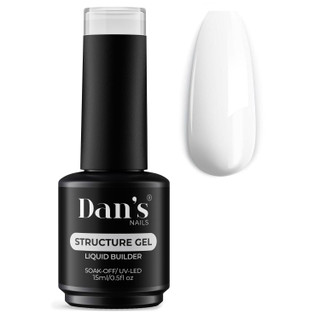
Dan's Nails Clear Builder Gel has been a revelation in my quest for resilient, yet elegant nails. Its versatility is its superpower, adept at transforming weak, brittle nails into pillars of strength and creating stunning extensions that rival the beauty of natural nails. The consistency of this builder gel strikes the perfect balance – not too thick, allowing for precise control and sculpting, yet robust enough to provide a solid, durable overlay. It's the building block of a manicure that's as durable as it is beautiful.4. Dan's Super Gloss Gel Top Coat: The Seal of Brilliance
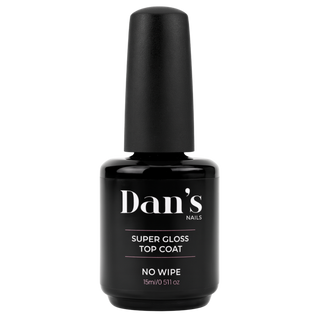
The final act in the manicure saga is graced by Dan's Nails Super Gloss Gel Top Coat. This top coat is the crown jewel, a seal that locks in the artistry beneath a layer of dazzling shine. Its application is the defining moment, where the nail transforms into a canvas of radiant beauty. The gloss is not just about aesthetics; it's a protective barrier that shields the manicure from chips and wear, prolonging the life of the art it encases. Every time I use it, it leaves my nails with a glass-like finish that commands attention.How To Apply Builder Gel: A Step-By-Step Guide
Applying structure gel is a meticulous process that demands precision. It’s an art form where each step is crucial to achieving the perfect balance of strength and aesthetics.
The Process Unveiled:
- Surface Preparation: Start with a clean slate. Buff the nail plate to smooth ridges, creating an even surface that enhances adhesion.
- Dehydrating for Durability: Apply a nail dehydrator. This step is critical for removing lingering oils and ensuring the gel’s longevity.
- Application of Base Coat: A strong foundation is vital. Dan’s Nails Base Coat acts as a primer, setting the stage for the builder.
- Sculpting and Shaping: Carefully sculpt builder gel beads over a nail form for extensions. This step is where skill meets creativity, as the gel is molded to the desired shape and length.
- Curing for Strength: Cure under a UV/LED lamp. This step transforms the builder's liquid state into a durable, solid overlay.
- Finishing with Finesse: File and shape the nails, refining the contours and edges. Conclude with Dan’s Nails Super Gloss Top Coat, sealing the masterpiece with a radiant shine.
Maintenance And Lifespan
When properly maintained, a builder gel manicure is a lasting beauty investment. It requires a commitment to regular care to ensure the manicure remains as stunning as the day it was applied.
The Art Of Upkeep:
Regular maintenance, including fills and proper removal, is the cornerstone of preserving your nails’ beauty and health. Fills address the natural nail growth at the base, seamlessly blending the new development with the existing gel. Professional removal is recommended to prevent damage, ensuring the natural nail remains unscathed beneath the protective layer of the builder.
Is Builder Gel Healthy?
Builder gel is often lauded for its nail-friendly properties. Unlike acrylics, which can be harsh on the natural nail, It offers a gentler alternative, bolstering the nail’s natural structure without overpowering it.
Health Considerations:
Proper application and removal is the key to maintaining nail health with builder gel. Missteps in these processes can lead to nail damage. However, when used correctly, structure gel can be a safer choice, especially for those seeking to enhance their natural nails without the harsh effects of acrylics.
FAQ
What’s The Difference Between Builder Gel And Regular Gel Polish?
Is Builder Gel Or Acrylic Stronger?
Is Builder Gel Better Than Acrylic?
How Long Does Builder Gel Last?
How To Remove Structure Gel
Step 1: Gather Your Supplies
Firstly, assemble the essentials. You’ll need acetone (100% pure is preferable), cotton balls or pads, aluminum foil cut into squares, a nail file, an orange stick or cuticle pusher, and nourishing cuticle oil. Having these at hand before you start will streamline the process.
Step 2: Buff The Surface
Begin by gently buffing the top layer of the structure gel. This step is crucial; it breaks the seal of the top coat, allowing the acetone to penetrate more effectively. Use a coarse nail file, but be cautious not to file too deeply to avoid damaging your natural nails.
Step 3: Acetone Prep
Soak the cotton balls or pads in acetone. The acetone acts as a solvent, breaking down the structure gel’s complex composition. Ensure the cotton is well-saturated for optimal effectiveness.
Step 4: Wrap The Nails
Place the soaked cotton on top of your nails, covering the nail. Then, wrap each finger with a piece of aluminum foil, securing the cotton in place. This creates a mini environment that enhances the acetone’s effectiveness, speeding up the removal process.
Step 5: Wait Patiently
Patience is key. Wait for approximately 10-15 minutes. This waiting period allows the acetone to work its magic, softening the structure gel for easier removal. Resist the temptation to peek; patience yields the best results.
Step 6: Check And Gently Scrape
After the wait, gently remove the foil from one finger and use an orange stick or cuticle pusher to lightly scrape the gel. If it does not come off easily, rewrap the nail and give it a few more minutes. The builder should come off without much resistance; if it doesn’t, it needs more time.
Step 7: Repeat For All Nails
Repeat the checking and gentle scraping process for each nail. Work one nail at a time to ensure the acetone doesn’t evaporate before you get to it. Remember, gentle and patient scraping is crucial to avoid damaging the natural nail.
Step 8: Final Touches
Once all the gel is removed, there might be a residue left on the nails. A light buff can help remove this. Follow up with a thorough hand wash and apply cuticle oil generously. This step is vital to rehydrate your nails and cuticles after the drying effect of acetone.
Step 9: Nail Health Assessment
Finally, take a moment to assess the health of your natural nails. If they feel weak or damaged, consider giving them a break from gel applications and focus on nourishment and recovery.
Conclusion
Embracing this builder wasn’t just a choice; it was a turning point in my nail care saga. It’s a realm where aesthetics and nail nurture coexist in harmony. For professionals and DIY mavens alike, integrating the builder into your arsenal can elevate your manicure game to realms of long-lasting beauty and grace.
Step 1: Gather Your Supplies
Firstly, assemble the essentials. You’ll need acetone (100% pure is preferable), cotton balls or pads, aluminum foil cut into squares, a nail file, an orange stick or cuticle pusher, and nourishing cuticle oil. Having these at hand before you start will streamline the process.
Step 2: Buff The Surface
Begin by gently buffing the top layer of the structure gel. This step is crucial; it breaks the seal of the top coat, allowing the acetone to penetrate more effectively. Use a coarse nail file, but be cautious not to file too deeply to avoid damaging your natural nails.
Step 3: Acetone Prep
Soak the cotton balls or pads in acetone. The acetone acts as a solvent, breaking down the structure gel’s complex composition. Ensure the cotton is well-saturated for optimal effectiveness.
Step 4: Wrap The Nails
Place the soaked cotton on top of your nails, covering the nail. Then, wrap each finger with aluminum foil, securing the cotton in place. This creates a mini-environment that enhances the acetone’s effectiveness, speeding up the removal process.
Step 5: Wait Patiently
Patience is key. Wait for approximately 10-15 minutes. This waiting period allows the acetone to work its magic, softening the structure gel for easier removal. Resist the temptation to peek; patience yields the best results.
Step 6: Check And Gently Scrape
After the wait, gently remove the foil from one finger and use an orange stick or cuticle pusher to lightly scrape the gel. If it does not come off easily, rewrap the nail and give it a few more minutes. The builder should come off without much resistance; if it doesn’t, it needs more time.
Step 7: Repeat For All Nails
Repeat the checking and gentle scraping process for each nail. Work one nail at a time to ensure the acetone doesn’t evaporate before you get to it. Remember, gentle and patient scraping is crucial to avoid damaging the natural nail.
Step 8: Final Touches
Once all the gel is removed, there might be a residue left on the nails. A light buff can help remove this. Follow up with a thorough hand wash and apply cuticle oil generously. This step is vital to rehydrate your nails and cuticles after the drying effect of acetone.
Step 9: Nail Health Assessment
Finally, take a moment to assess the health of your natural nails. If they feel weak or damaged, consider giving them a break from gel applications and focus on nourishment and recovery.
Recent Posts
-
▷ Acrylic Nails vs UV Gel Nails: What's the Difference
Acrylic and gel nails are extensions applied to your natural nails to achieve a much more polished
-
▷ Nail Drill Bits Guide for Beginners | Daniella Fer
Nail Bits are essential tools for both professional nail technicians and at-home enthusiasts. These

